
Create and use saved IPND details
Save accurate emergency-address records and reuse them when ordering services.
Before you start
- The service user's full name
- A physical Australian service location
- Unit, floor, building and access details if applicable
IPND details are used for emergency service location information. Review every pre-filled field for accuracy.
Open the IPND record picker
During onboarding or a new service order, choose a saved record or Create new IPND details.
Use the highlighted Emergency address on the Service settings screen. Confirm the surrounding service or account details match before you continue.
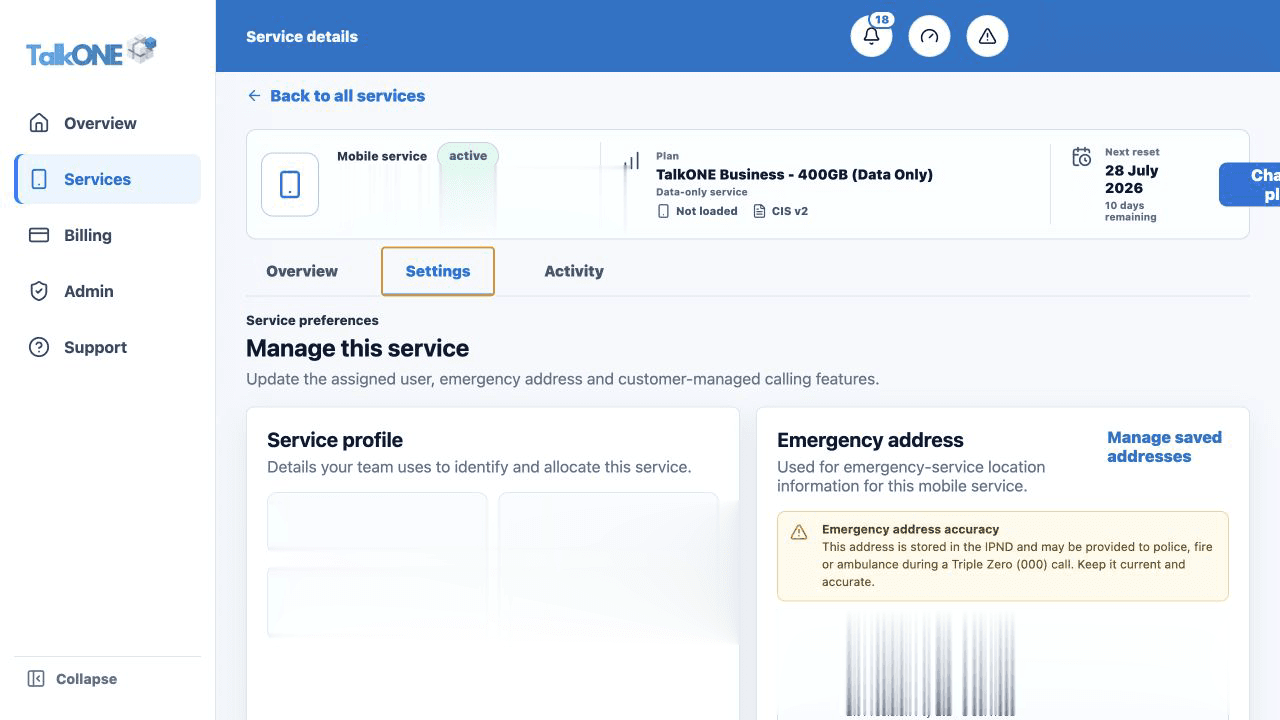
Search the address
Start typing the physical address and select the best lookup result. The lookup is a starting point, not the final record.
Use the highlighted Emergency address on the Service settings screen. Confirm the surrounding service or account details match before you continue.
Complete the specific fields
Expand the address editor and correct unit, level, building, street components, locality, state and postcode. Add information needed to identify the location.
Use the highlighted Emergency address accuracy warning on the Service settings screen. Confirm the surrounding service or account details match before you continue.
Check the person and use
Confirm the service user's name and whether the service is primarily business or personal use.
Use the highlighted Service profile on the Service settings screen. Confirm the surrounding service or account details match before you continue.
Save and reuse
Give the record a recognisable label. It can then be selected for later services without re-entering the same details.
Use the highlighted Emergency address on the Service settings screen. Confirm the surrounding service or account details match before you continue.
Check your work
The saved record summary contains a complete physical address and can be selected in a new service order.