
Add a new mobile service
Choose a plan, number, SIM type, assigned user, IPND record and payment details.
Before you start
- Account management access
- An active payment method
- The service user's name and emergency address
A number transfer may require SMS verification and the exact details held by the current provider.
Start the order
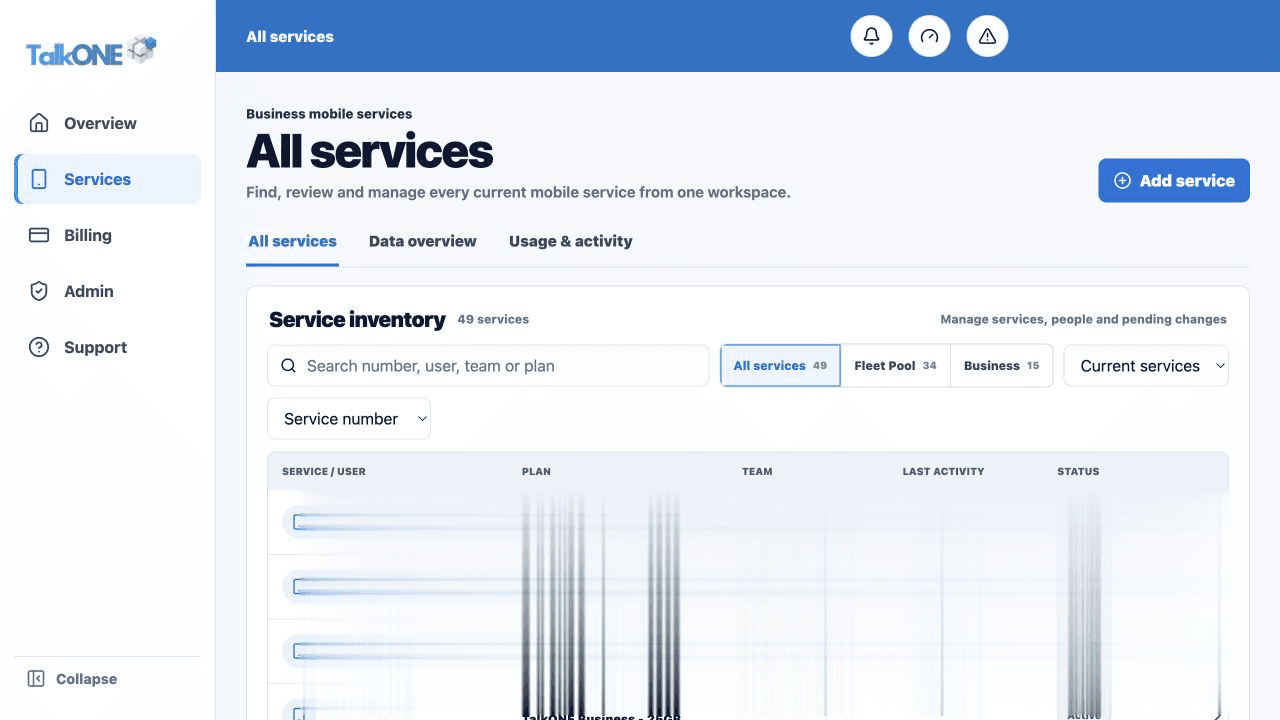
Open Services and choose Add mobile service. The order remains a reviewable draft until the final confirmation.
Use the highlighted Add service on the All services screen. Confirm the surrounding service or account details match before you continue.
Choose the plan
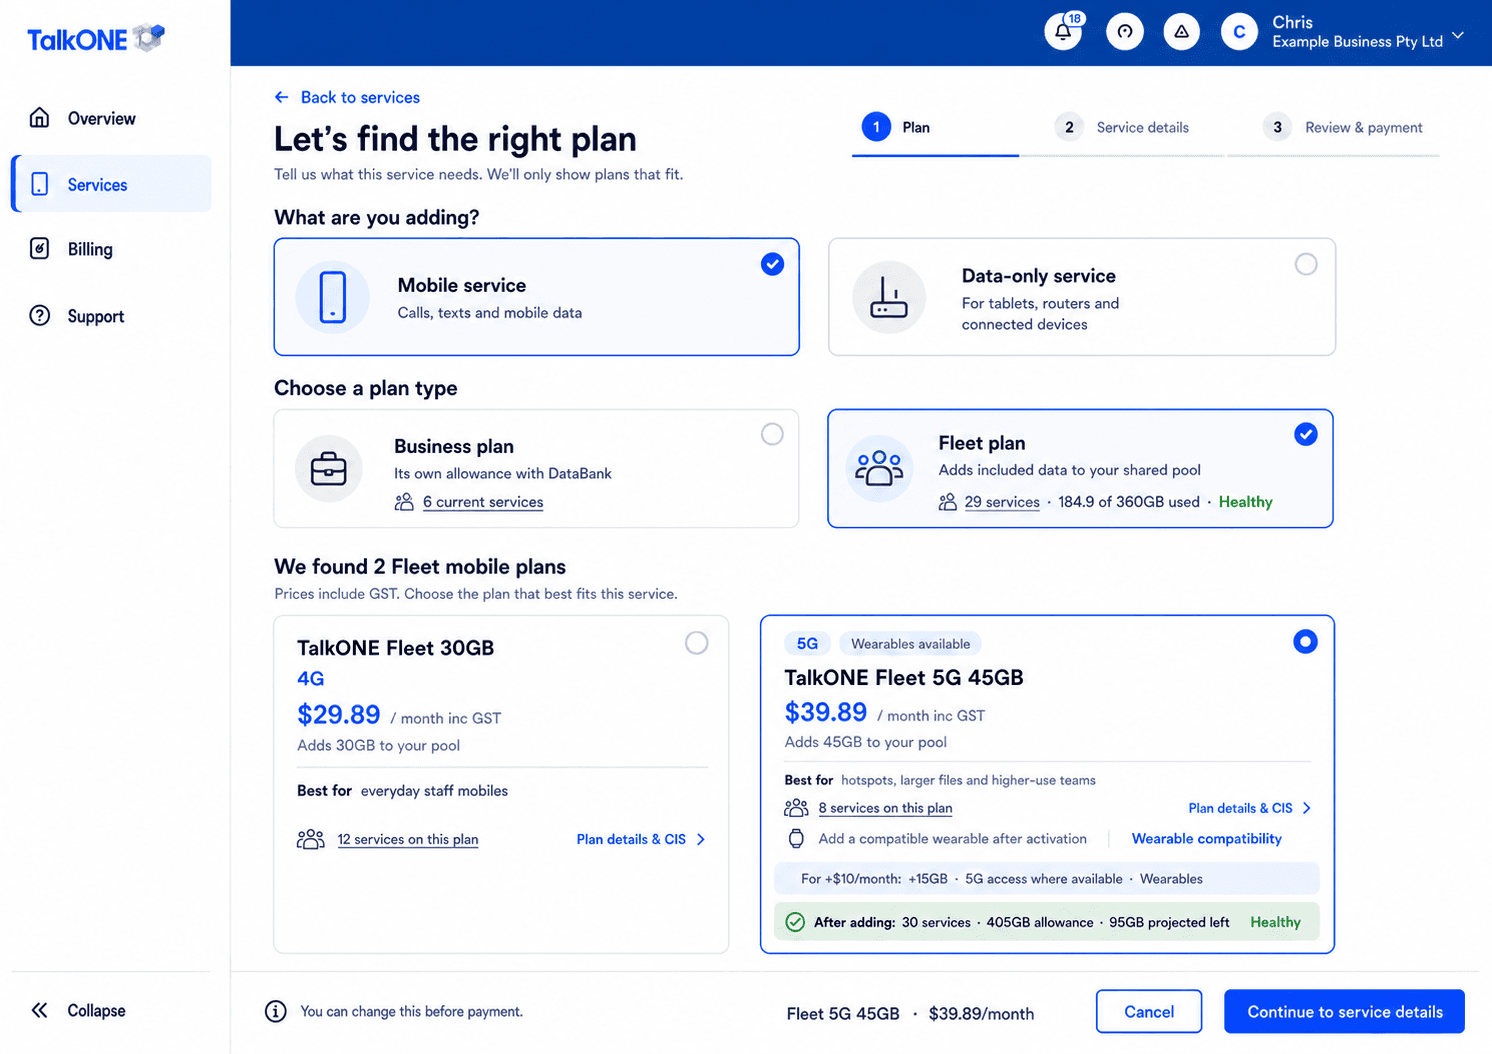
Compare all available plans in the horizontal plan selector. Check included data, calls, messages and monthly price.
Use the highlighted plan selector on the Add service screen. Confirm the surrounding service or account details match before you continue.
Choose the number and SIM
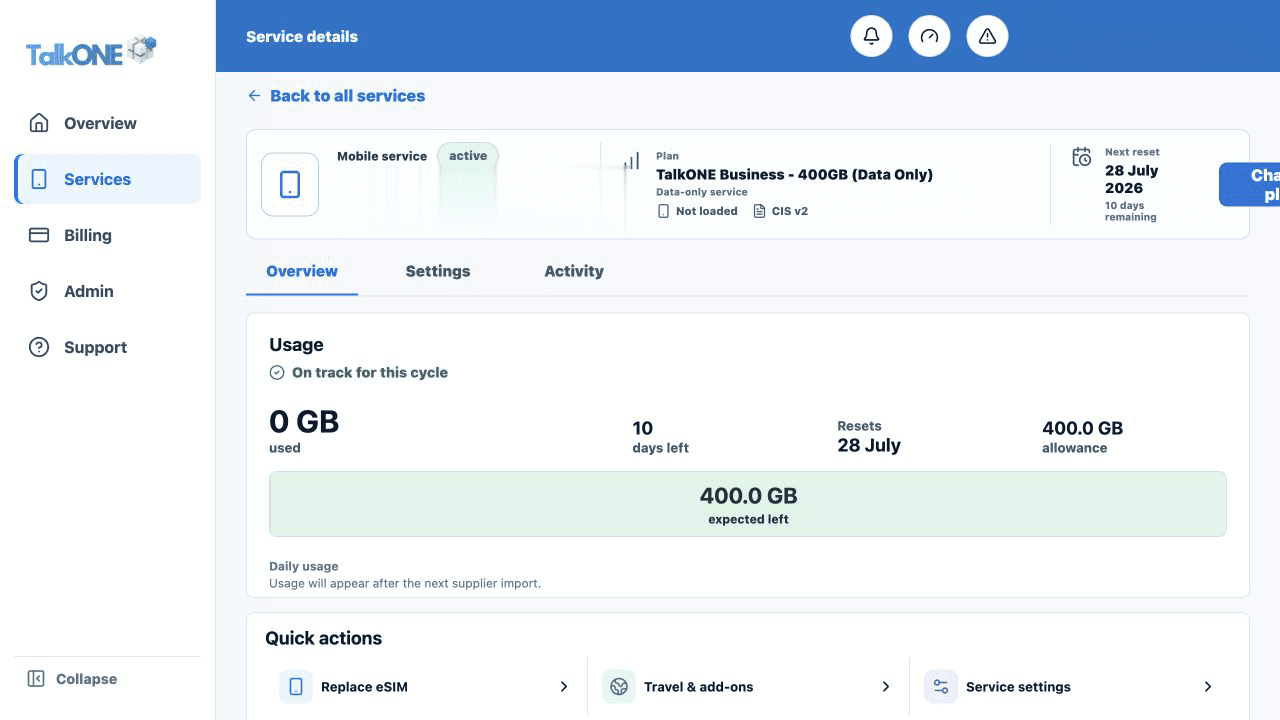
Select a new number or transfer an existing number. Choose eSIM for the standard digital setup; physical SIM requests are handled manually.
Use the highlighted service number, user and plan on the Service overview screen. Confirm the surrounding service or account details match before you continue.
Add service details
Enter one clear service name, the assigned user and an optional department. Choose an icon and colour or upload an image.
Use the highlighted Service profile on the Service settings screen. Confirm the surrounding service or account details match before you continue.
Select the IPND record
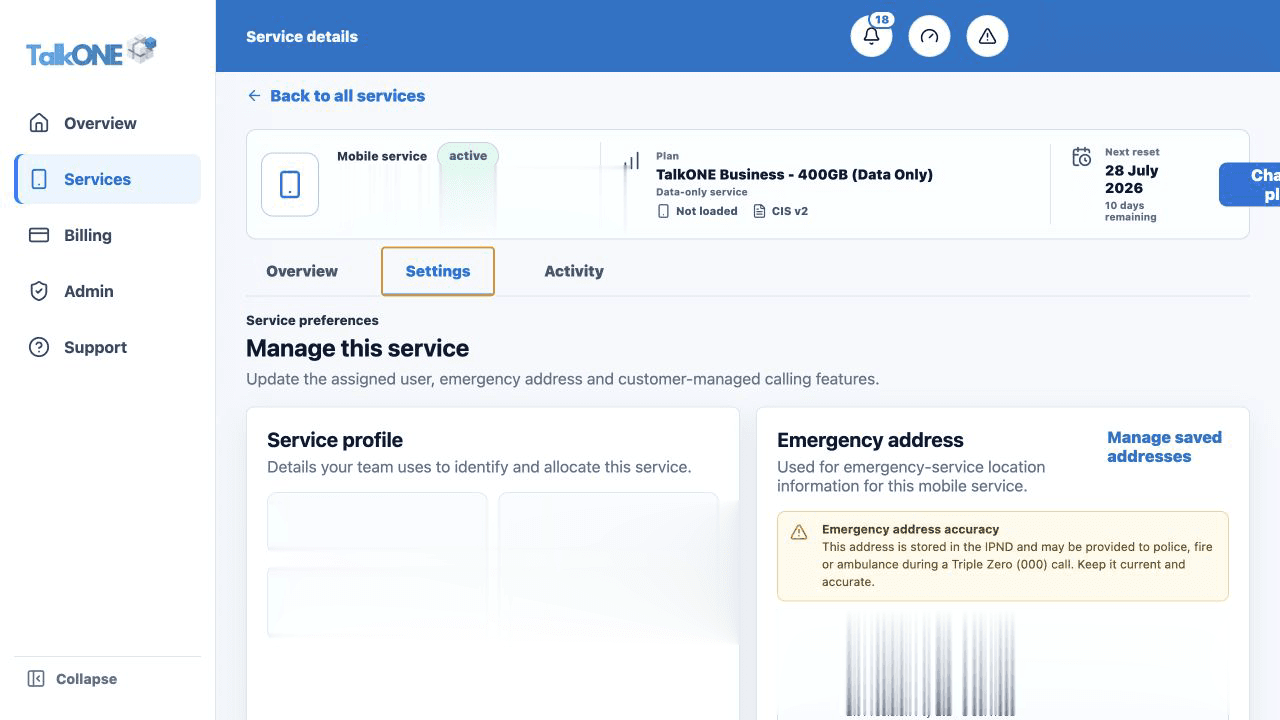
Choose a saved emergency address or create one with address lookup. Expand the address to correct unit, level, building or access details.
Use the highlighted Emergency address on the Service settings screen. Confirm the surrounding service or account details match before you continue.
Review and place the order
Check the plan, number, SIM, monthly cost, IPND details and Critical Information Summary before confirming.
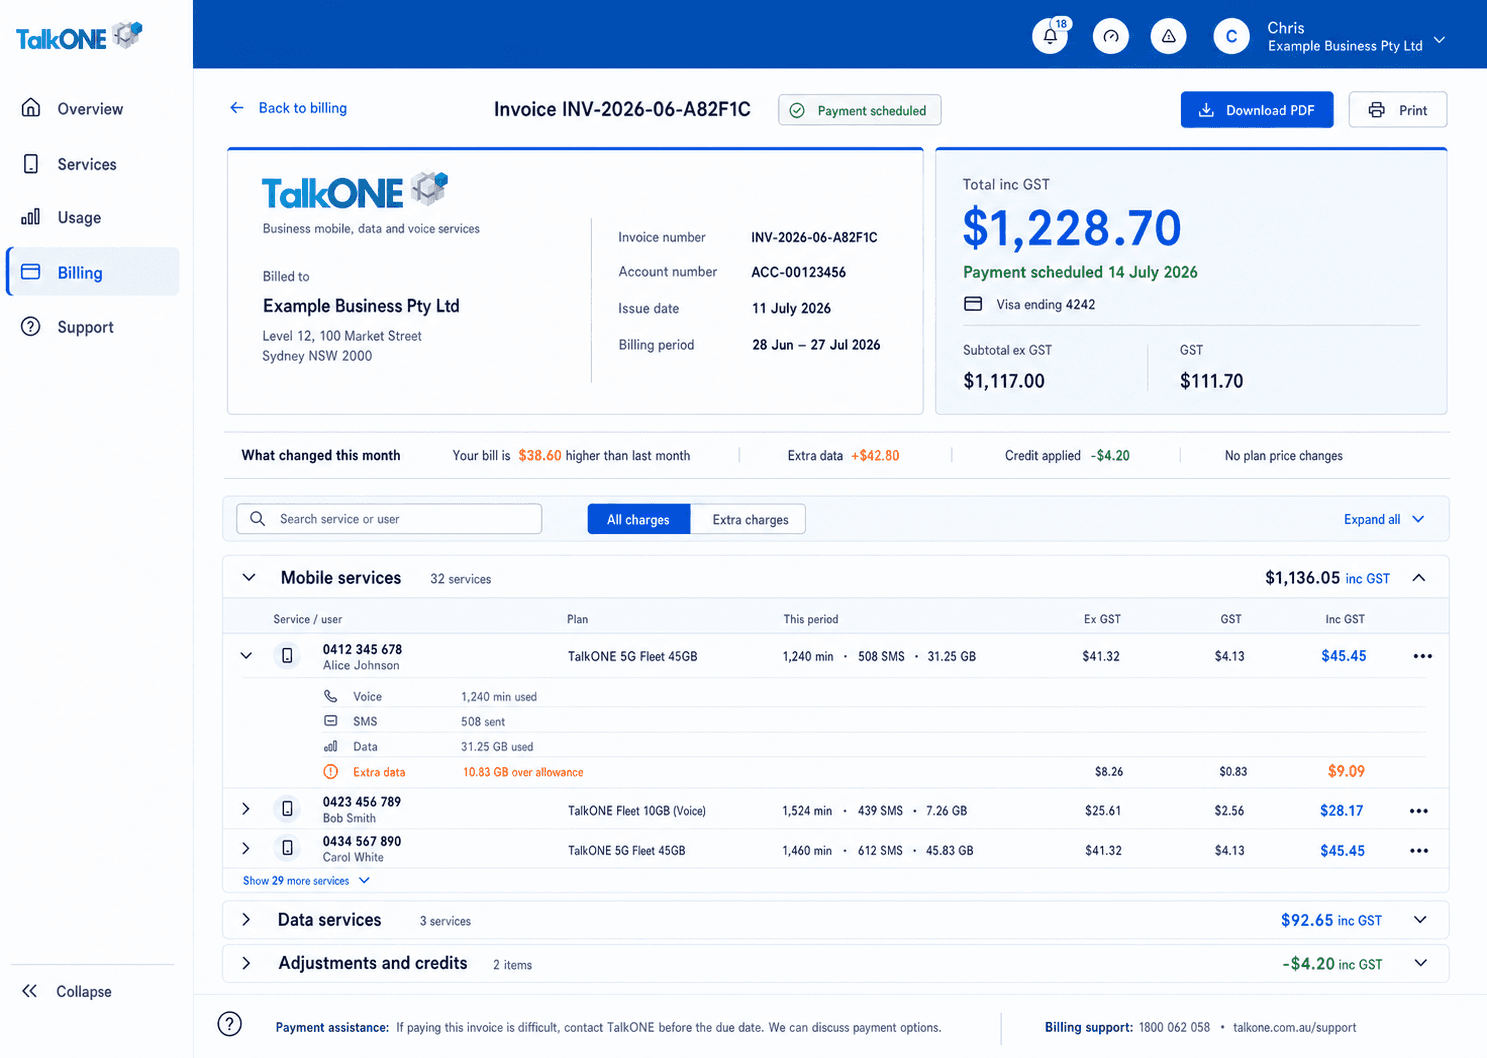
Use the highlighted invoice and amount summary on the Invoice screen. Confirm the surrounding service or account details match before you continue.
Check your work
A confirmation screen and email show the new service request and its current status.